- About

Getting to know us
- Industries
Recent case study:
Oracle EBS Cloud Deployment
Consolidating and Migrating assets into Oracle Cloud Infrastructure.
.png?width=250&name=stonewater-logo%20(1).png)
Most Visited Pages
-
- Resources
DSP-Explorer acquires leading Oracle Applications Managed Services Provider, Claremont, to further extend its data management capabilities.

Resources
- Contact us
Migrate your data to a different Oracle Cloud Tenancy
Contents
If you are operating with more than one OCI tenancy, sometimes there will be situations when you need to move data from one to another - in this blog I will be showing you steps to transfer a schema to an ADB where the target ADB is in a different tenancy to the source. The same principle can be applied to move other DB objects with some different selections in the wizards.
We will be utilising the object storage buckets in each tenancy along with some simple PL/SQL code. As a pre-requisite, you should be able to connect to both ADBs as the admin user with SQL Developer and have access to the OCI cloud console for each tenancy with grants to create and manage buckets.

Step 1) Use SQL Developer Export Data Pump Wizard to export the schema into a dump file
To access the wizard, navigate to View -> DBA
In the DBA window, add the connection from which the source schema presides.
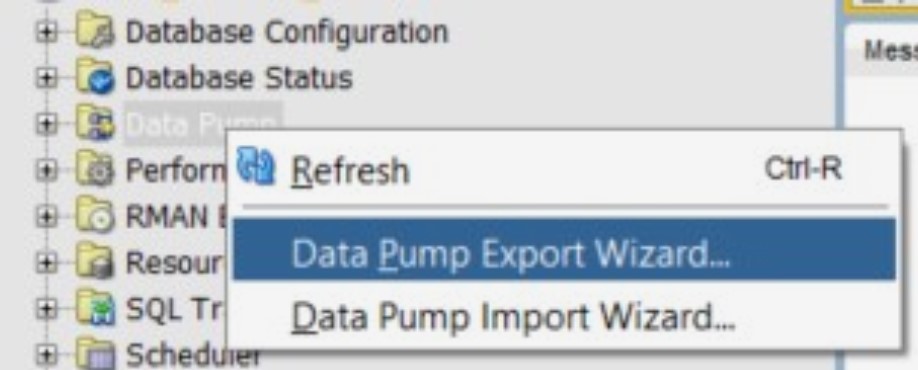
Right-click Data Pump and select ‘Data Pump Export Wizard’
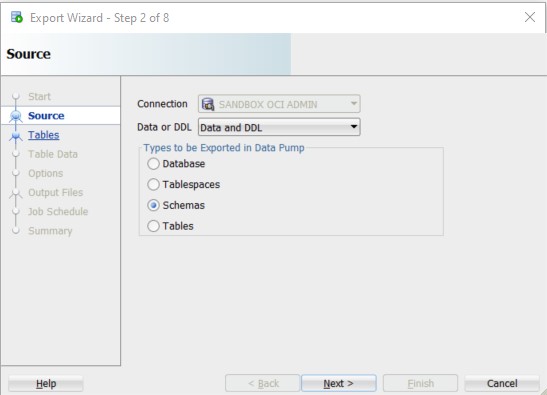
Select Data and DDL -> Schemas -> Next
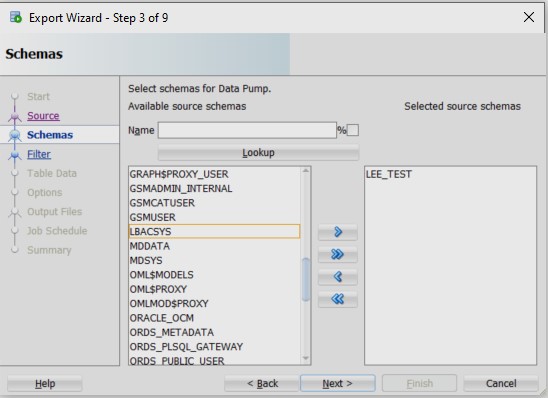
Select a schema to export -> Next
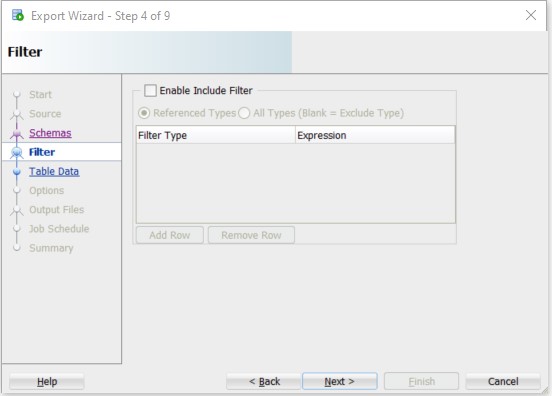
Click ‘Next’ unless you wish to add a filter
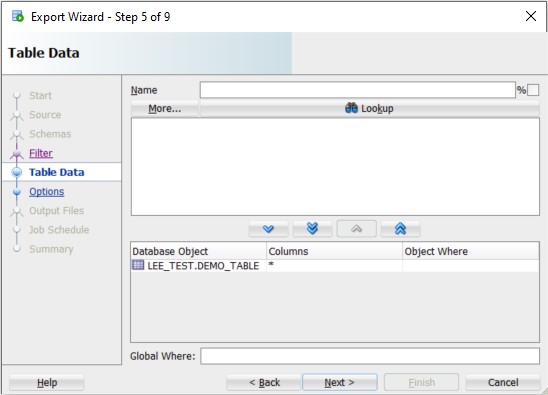
Click ‘Lookup’ and shuttle all tables you want to include in the export -> Next
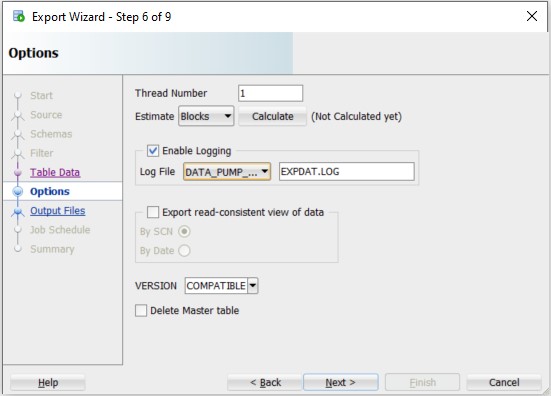
Keep the defaults (unless you want to rename the log file to something more relevant). Ensure the version = COMPATIBLE -> Next
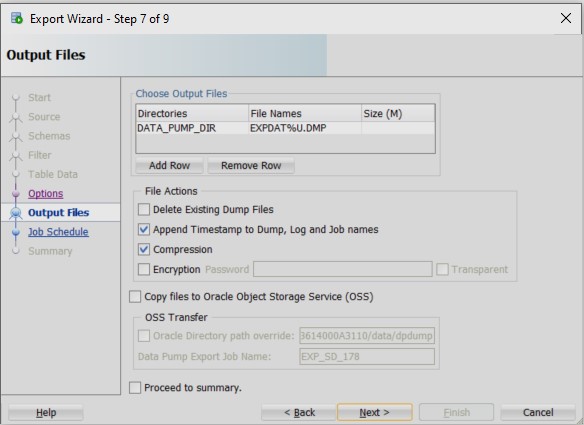
Again, keep the defaults here -> Next
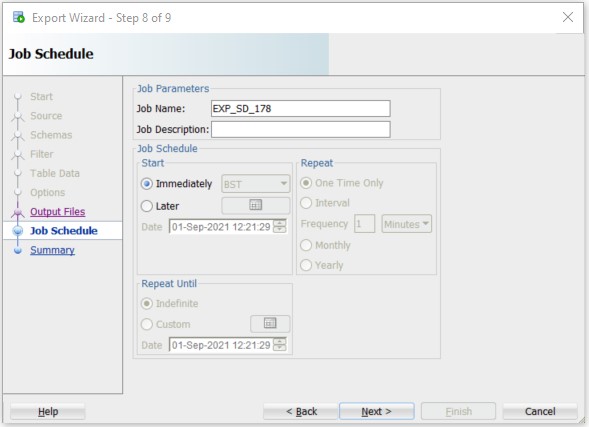
Keep defaults -> Next
Check information is correct -> Finish

The export script will run. It could take a few minutes depending on the size of the schema. Refresh as pointed to check the state of the script.
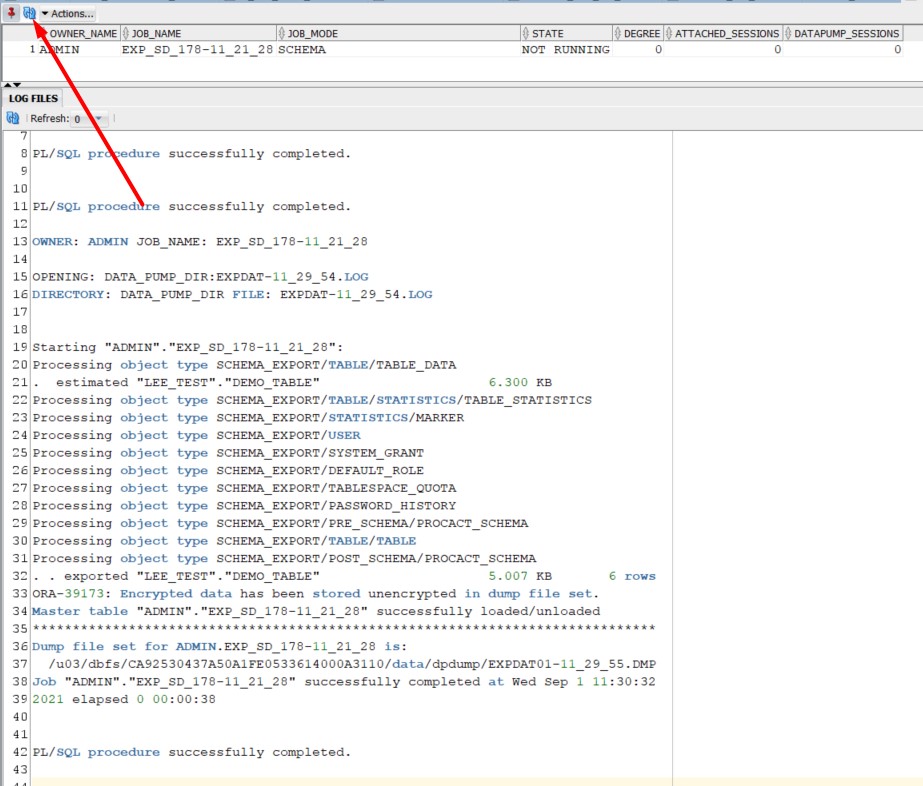
Once complete the dump file is stored in the directory we specified (default was DATA_PUMP_DIR).
Store the full name of the .DMP file for later.
Now we have the dump file stored we are ready for the next step –
Step 2) Send the dump file from the source ADB to a newly created object storage bucket in the target ADB
First thing we need to do is create a new credential for the target ADB within ADMIN/SYS schema of the source ADB. This will allow the source ADB to connect to the target to send the .dmp file.
For this we use DBMS_CLOUD.CREATE_CREDENTIAL:
BEGIN
DBMS_CLOUD.CREATE_CREDENTIAL(
credential_name => 'MY_TEST_CREDENTIAL',
username => 'oraclecloudidentityservice/<your target ADB cloud account name here>',
password => '<your cloud account password here>'
);
END;
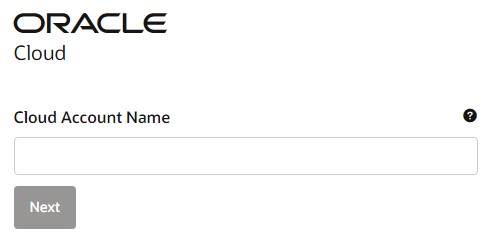
Your cloud account name is the one used to log in here:
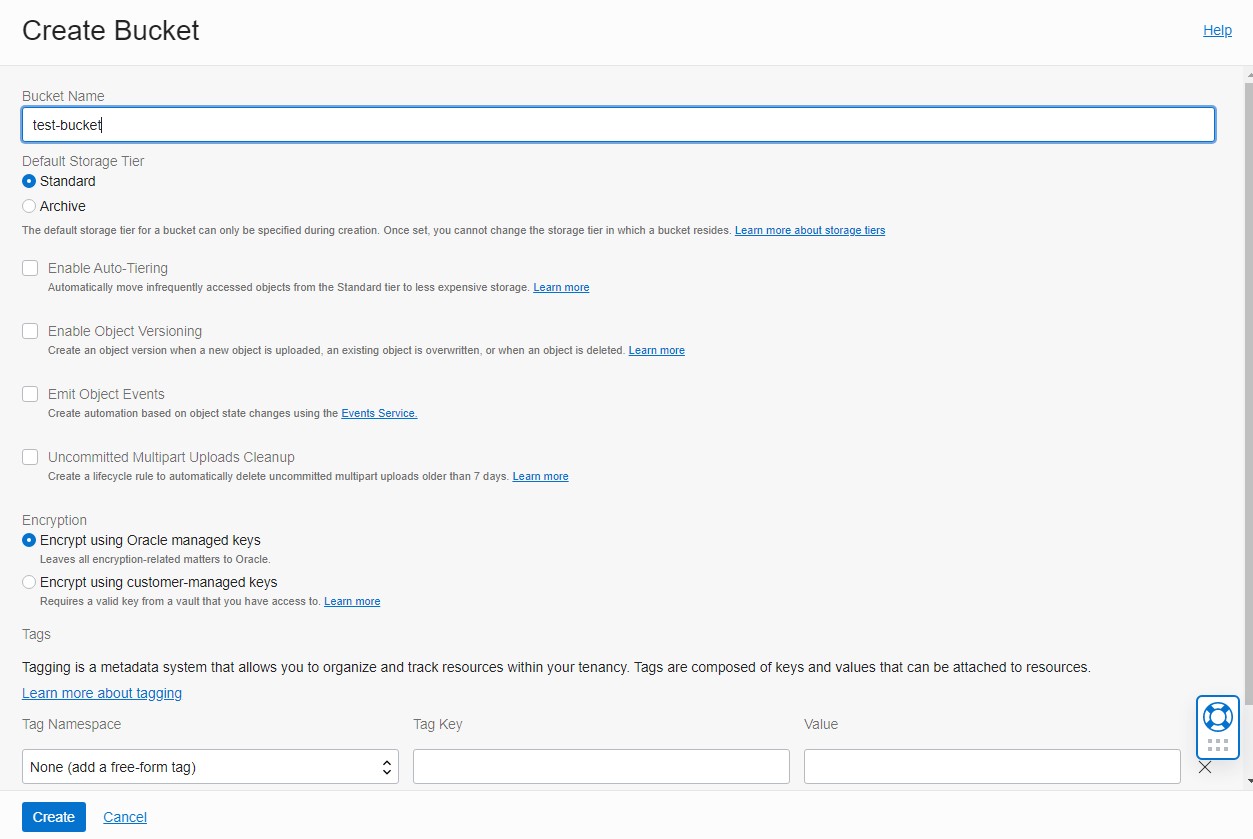
Now we need to create a storage bucket in the target ADB to send the dump file to:
- Log in to your target environment at cloud.oracle.com
- Navigate to ‘Object Storage & Archive’ -> Create Bucket (or search ‘Buckets’ in search at top of console)
- Give the bucket a meaningful name -> Create
In the left-hand column select ‘Pre-Authenticated Requests’ -> Create Pre-Authenticated Request

Select ‘Permit object read and writes’ -> Create Pre-Authenticated Request
Copy the URL. Now we are going to send the dump file from the source ADB to the bucket in the target ADB. In the Admin/SYS schema of the source ADB (where the dump file is currently stored in the directory) run the following:
BEGIN
DBMS_CLOUD.PUT_OBJECT
(credential_name => 'MY_TEST_CREDENTIAL',
object_uri => <paste the copied URL from the Authenticated request>
directory_name => 'DATA_PUMP_DIR',
file_name => <insert previously stored dmp file name (include .DMP) >);
END;
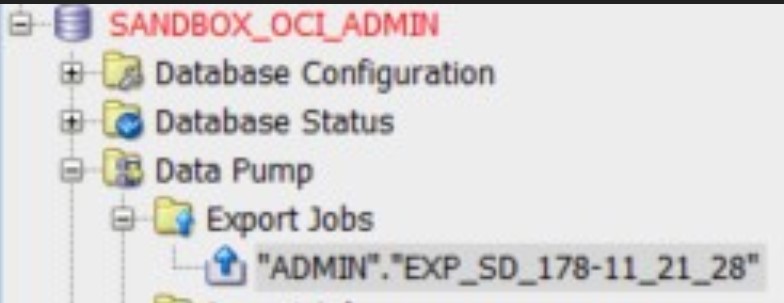
If you have not saved the dump file name you can access it in the SQL Developer from here:

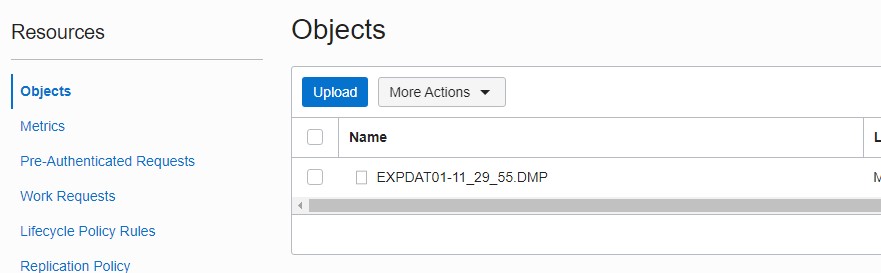
Log into the cloud console of the target ADB and navigate to the bucket. You should now see the dump file in the ‘Objects’ section.
Step 3) Import the dump file into the target ADB
Before we import the dump file, we need to create an Auth Token for the user to access the Object storage where the file is stored.
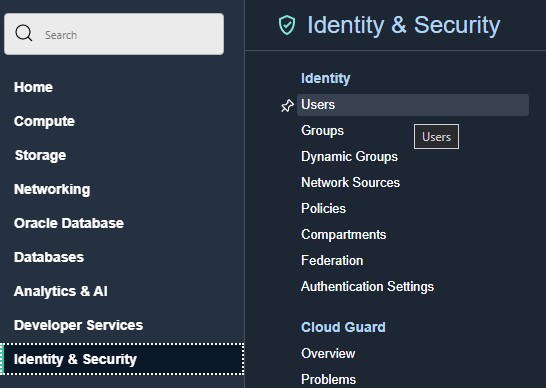
To do this – in the target ADB console navigate to ‘Identity & Security’ -> Users
Select your user from the list then in the Resources menu select ‘Auth Tokens’ -> Generate Token.
Give it a meaningful name, click ‘Generate Token’ and copy. Now in the target Admin/SYS schema run the following:
BEGIN
DBMS_CLOUD.CREATE_CREDENTIAL(
credential_name => ‘OBJECT_ACCESS_CREDENTIAL’,
username => ‘oracleidentitycloudservice/your_username@something.com’,
password => ‘<Enter the Authentication token here>’ );
END;
Next, we need to create a pre-authenticated request to access the dump file in the target ADB.
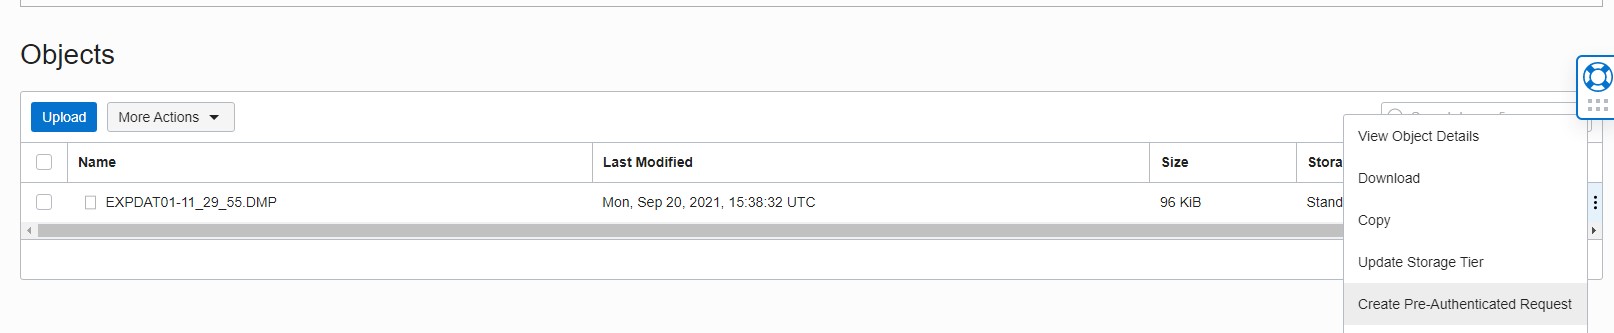
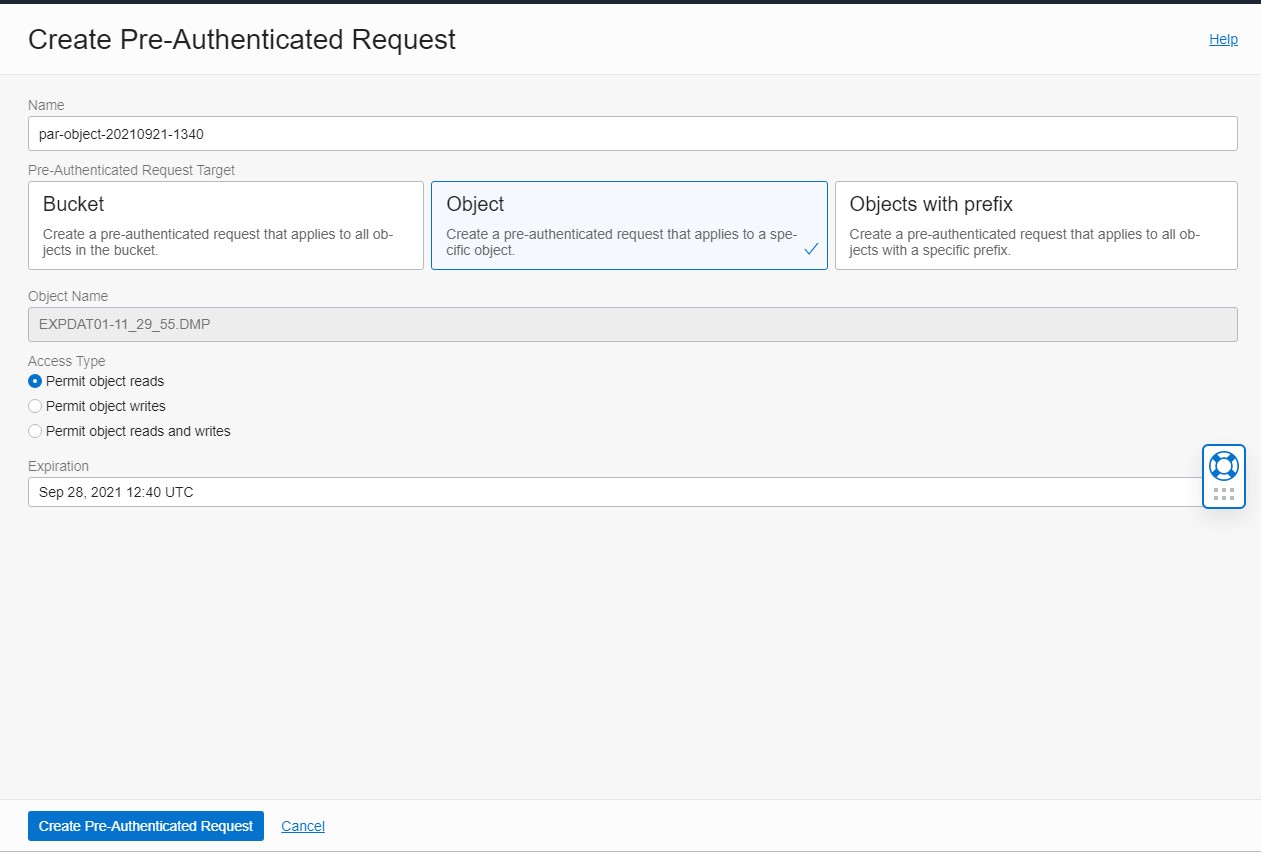
In the console, navigate to the object in the bucket and select ‘Create Pre-Authenticated Request’ from the ellipsis menu of the object (not the bucket).
Accept the defaults and click ‘Create’
Copy the URL and store for the next step. Now we can use the import wizard in SQL Developer to import the schema in the dump file.
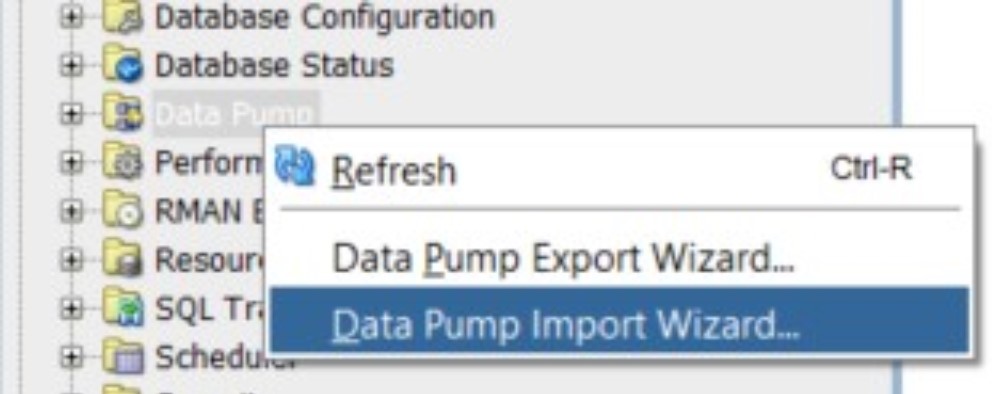
In the same DBA pane (used in the Export Data Pump wizard in step 1) select the connection and right-click Data Pump -> Data Pump Import Wizard
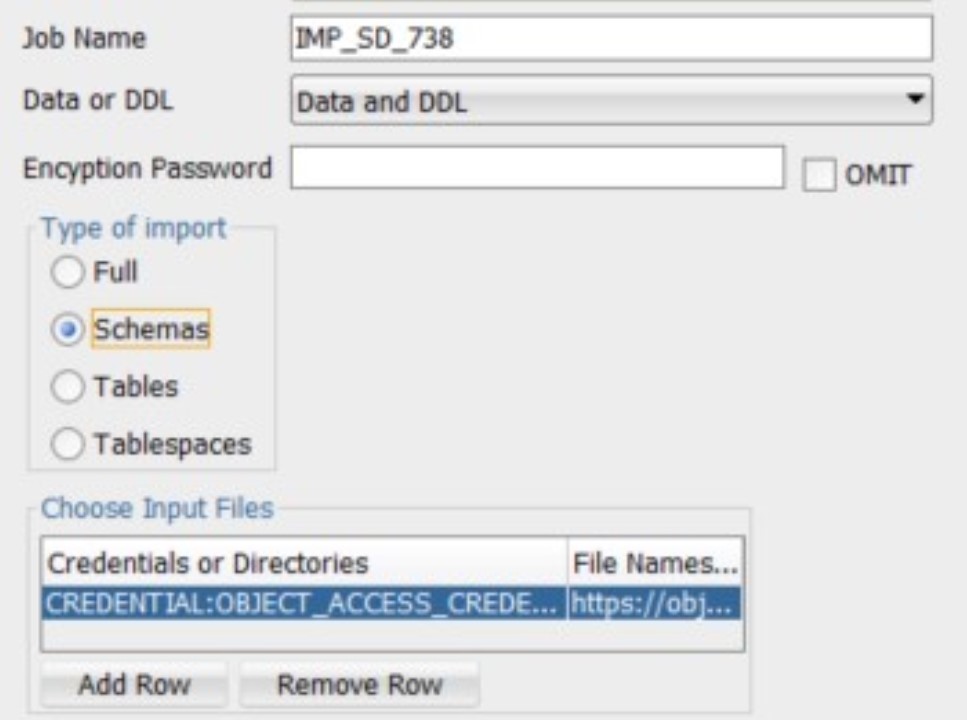
Select the OBJECT_ACCESS_CREDENTIAL and add the copied pre-authenticated URL from the previous step. Ensure ‘Data & DDL’ and ‘Schemas’ are selected and click 'Next'.
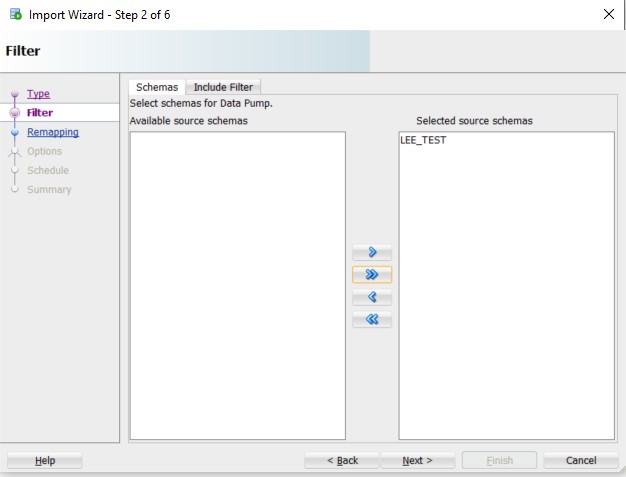
Our schema from the dump file should now be available to select for import. Use the shuttle to select and click ‘Next’
If you do not want to remap the schema then click next, otherwise complete the row to remap before clicking ‘Next’.
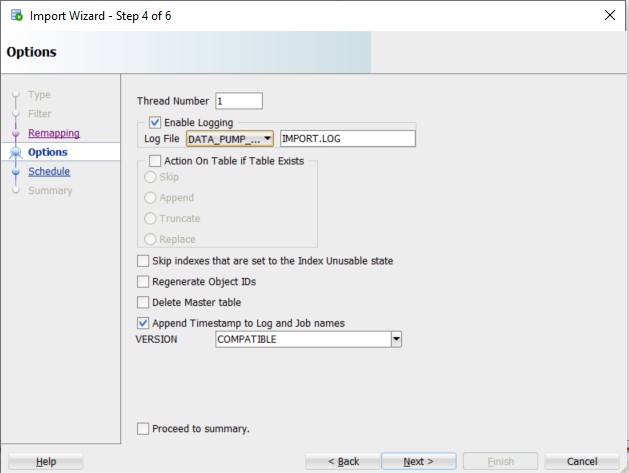
Accept the defaults in the next step (unless you wish to give the log file a more meaningful name) then click ‘Next’.
Similarly, you can amend the job name/description in the next step, but for now we will just click ‘Next’.
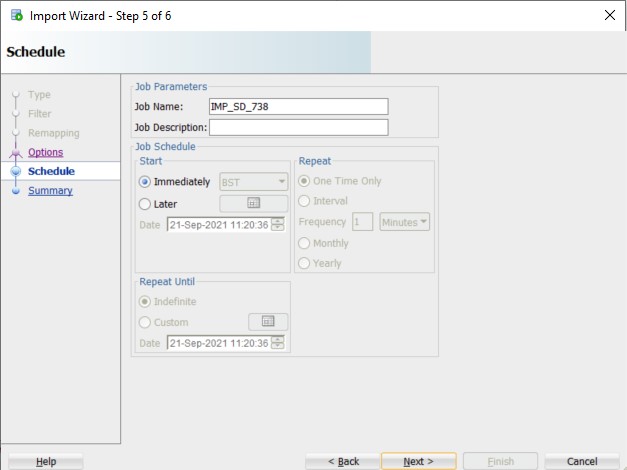
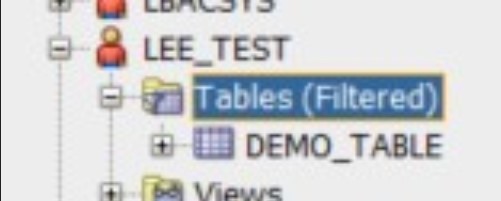
Browse the summary for more information or click ‘Finish’ to start the import process. Once the process has run you can browse ‘Other Users’ to check the schema and all objects have been imported correctly.
The same process can be used for individual table DDL or just pure data transfer and makes the transfer of data between 2 separate tenancies fairly straight-forward.
DSP Oracle APEX Services
If this blog was of interest, be sure to discover more about our Oracle APEX Services, we'd be happy to discuss the art-of-the-possible with you!
Author: Lee Burgess
Job Title: Oracle Development Consultant
Bio: Lee is a Development Consultant at DSP. After a change of career, he began working with Oracle Technologies and specialising in SQL and PL/SQL Programming. His previous role involved developing an Enterprise application using APEX, and since then has never looked back. Here at DSP he is part of a highly skilled development team providing APEX development solutions and training to both UK and international businesses.